Did you know that Beer was banned in Iceland until 1989? Learn more about it in our small group VIP walking tour Click here
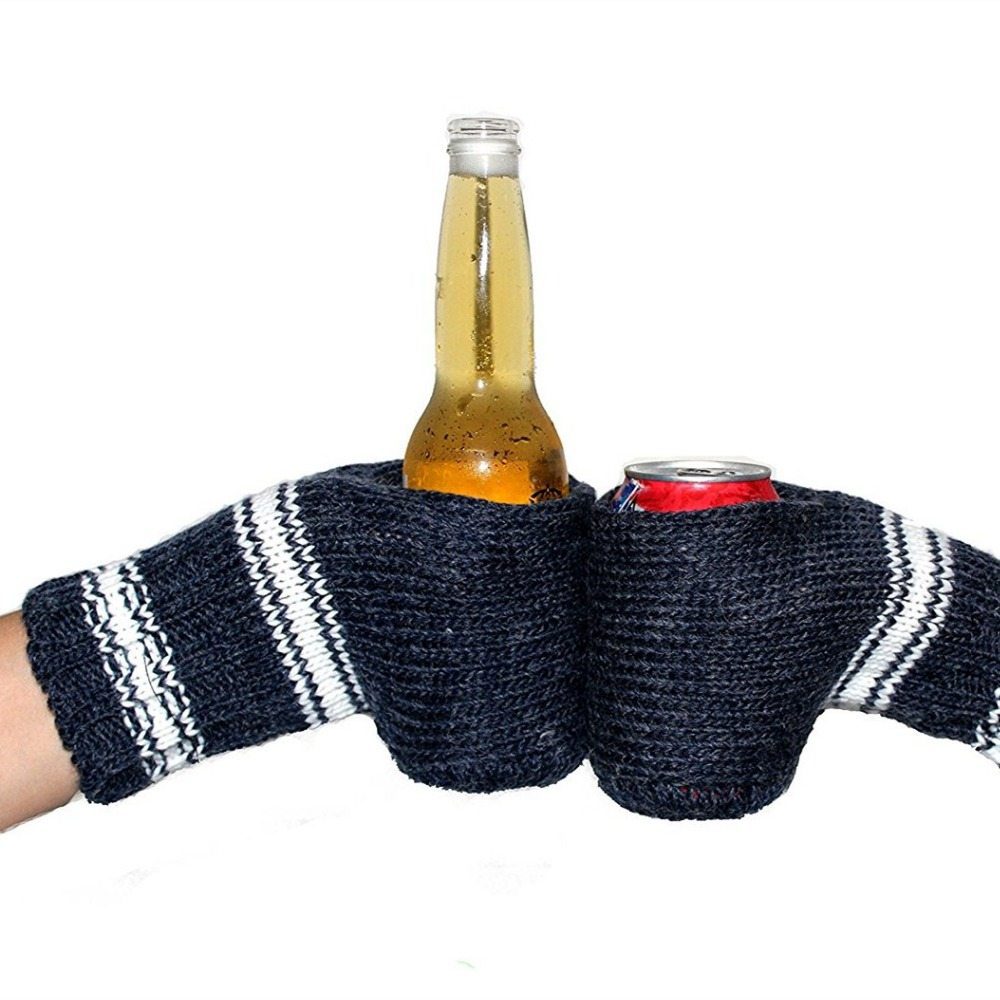
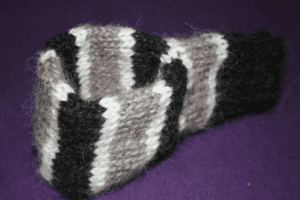
Beer Mitten Knitting Recipe
Knitting needles: 4,5mm and 6mm
Crochet needle: 5mm
Yarn: Álafosslopi 100g (bulky/12ply weight)
Sizes: S/M/L
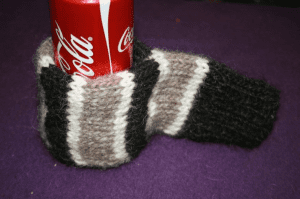
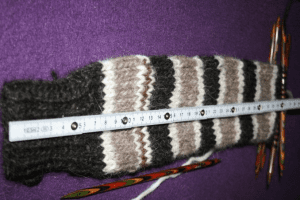
Cast on 22/24/26 stitches and join in the round with 4,5mm needles, and knit 5-7cm (the mittens in the picture have roughly 6cm ribbling).
When you’ve finished the ribbing change to 6mm needles and use stocking stitch, yo on each needle (when using sock needles, otherwise yo after knitting 3 stitches, then after every 6 stitches) so you have 4 new stitches in total. Remember to twist the stitches when you knit into the yo’s. Knit 10/11/12 rows in stocking stitch.
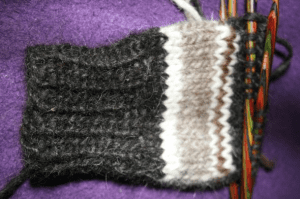
(Color changing in the mitten in the picture is: Ribbing and 3 rows stocking with color 1 (darkbrown in picture). *2 rows with color 2 (white in picture), 5 rows with color 3 (lightbrown in picture), 2 rows with color 2, 5 rows with color 1*. Repeat * to * until you rech the length you want the mitten. It’s a good idea to use the “jogless stripes” method to make the stopes fit better together, you can find it on Youtube for example).
 Knit 13/14/15 stitches with waste yarn (like you were making a giant thumb), go back to the beginning and knit with the original yarn into the waste yarn and continue until the mitten is 36cm (or you can use a can or a bottle to measure if it’s big enough).
 Take 26/28/30 stitches where the waste yarn is and remove the waste yarn, you can also take a stitch from each side to avoid big gaps. Now graft the inner side of the mitten to the top stitches where the waste yarn was, and the outer side of the mitten to the lower stitches where the waste yarn was. Now you should be able to fit a beer can easily into the middle of the mitten. You can also cast off the stitches and sew it instead of grafting, but that isn’t as invisible as the grafting, and bulkier as well.
(For the color change it’s best to end with color 1 and then graft the mittens with color 2, or end with one round of color 2 if you want to just sew instead of graftin, so the colorchanges will fit.
To make the “bottom” (otherwise the beer will probably just fall through, yarn is usually quite slippery!) it’s handy to use crochet. My method is like this:
1. Row: Make 3ch into the rim of the mitten, make tr into every onther stitch on the rim (24 with the ch at the beginning). Connect into a round.
2. Row: Make 3ch, make tr into every other stitch (12 with the ch at the beginning). Connect into a round.
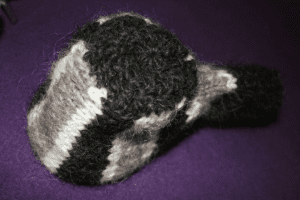
Pull the yarn through the last stitch, cut the yarn with a 15cm tail and pull the string through the stitches at the top of the crocheted part, pull it to close the gap and put the ends away.